Everything you need

Nail Scissors

UV Lamp
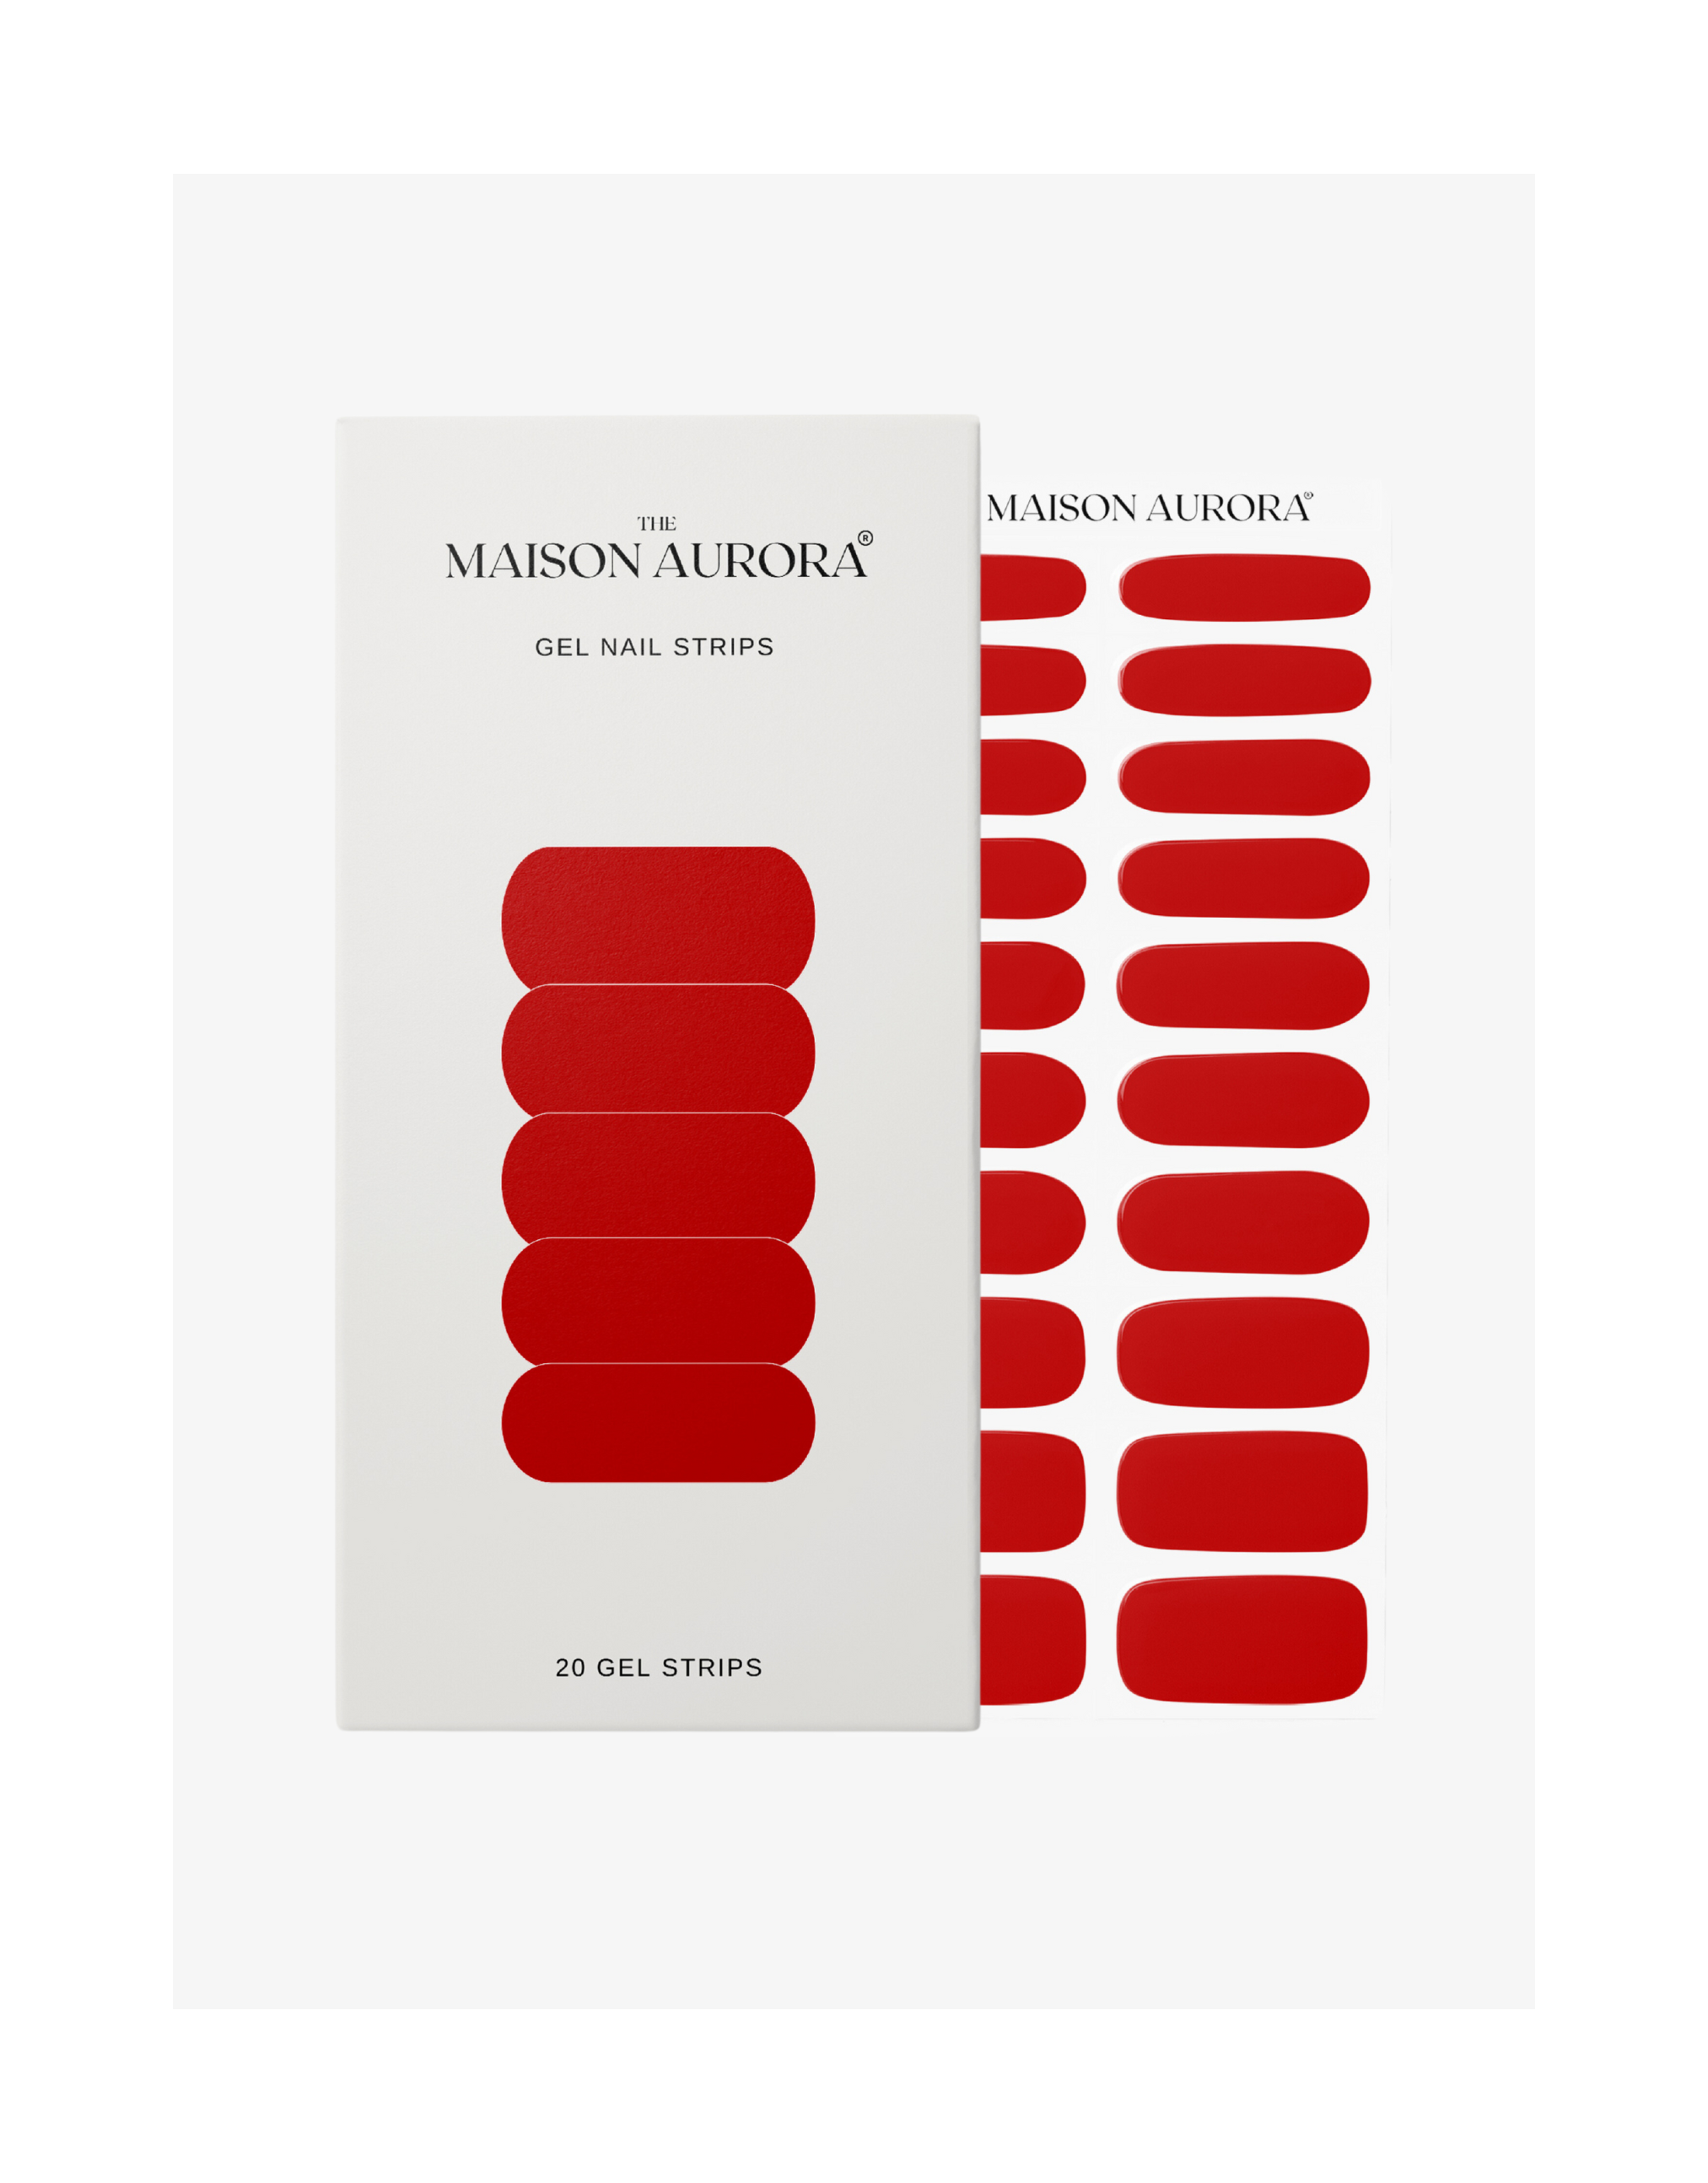
Gel Strips

STEP 1
Remove cuticles
Use the enclosed manicure stick or a cuticle pusher to gently push back your cuticles and remove the thin layer of cuticle on your nail bed. This step helps extend the durability of your manicure. Thoroughly clean your nails with the enclosed alcohol pad. Remember, proper application and cleanliness are crucial; how well you follow these steps greatly impacts the longevity of your manicure.
step 2
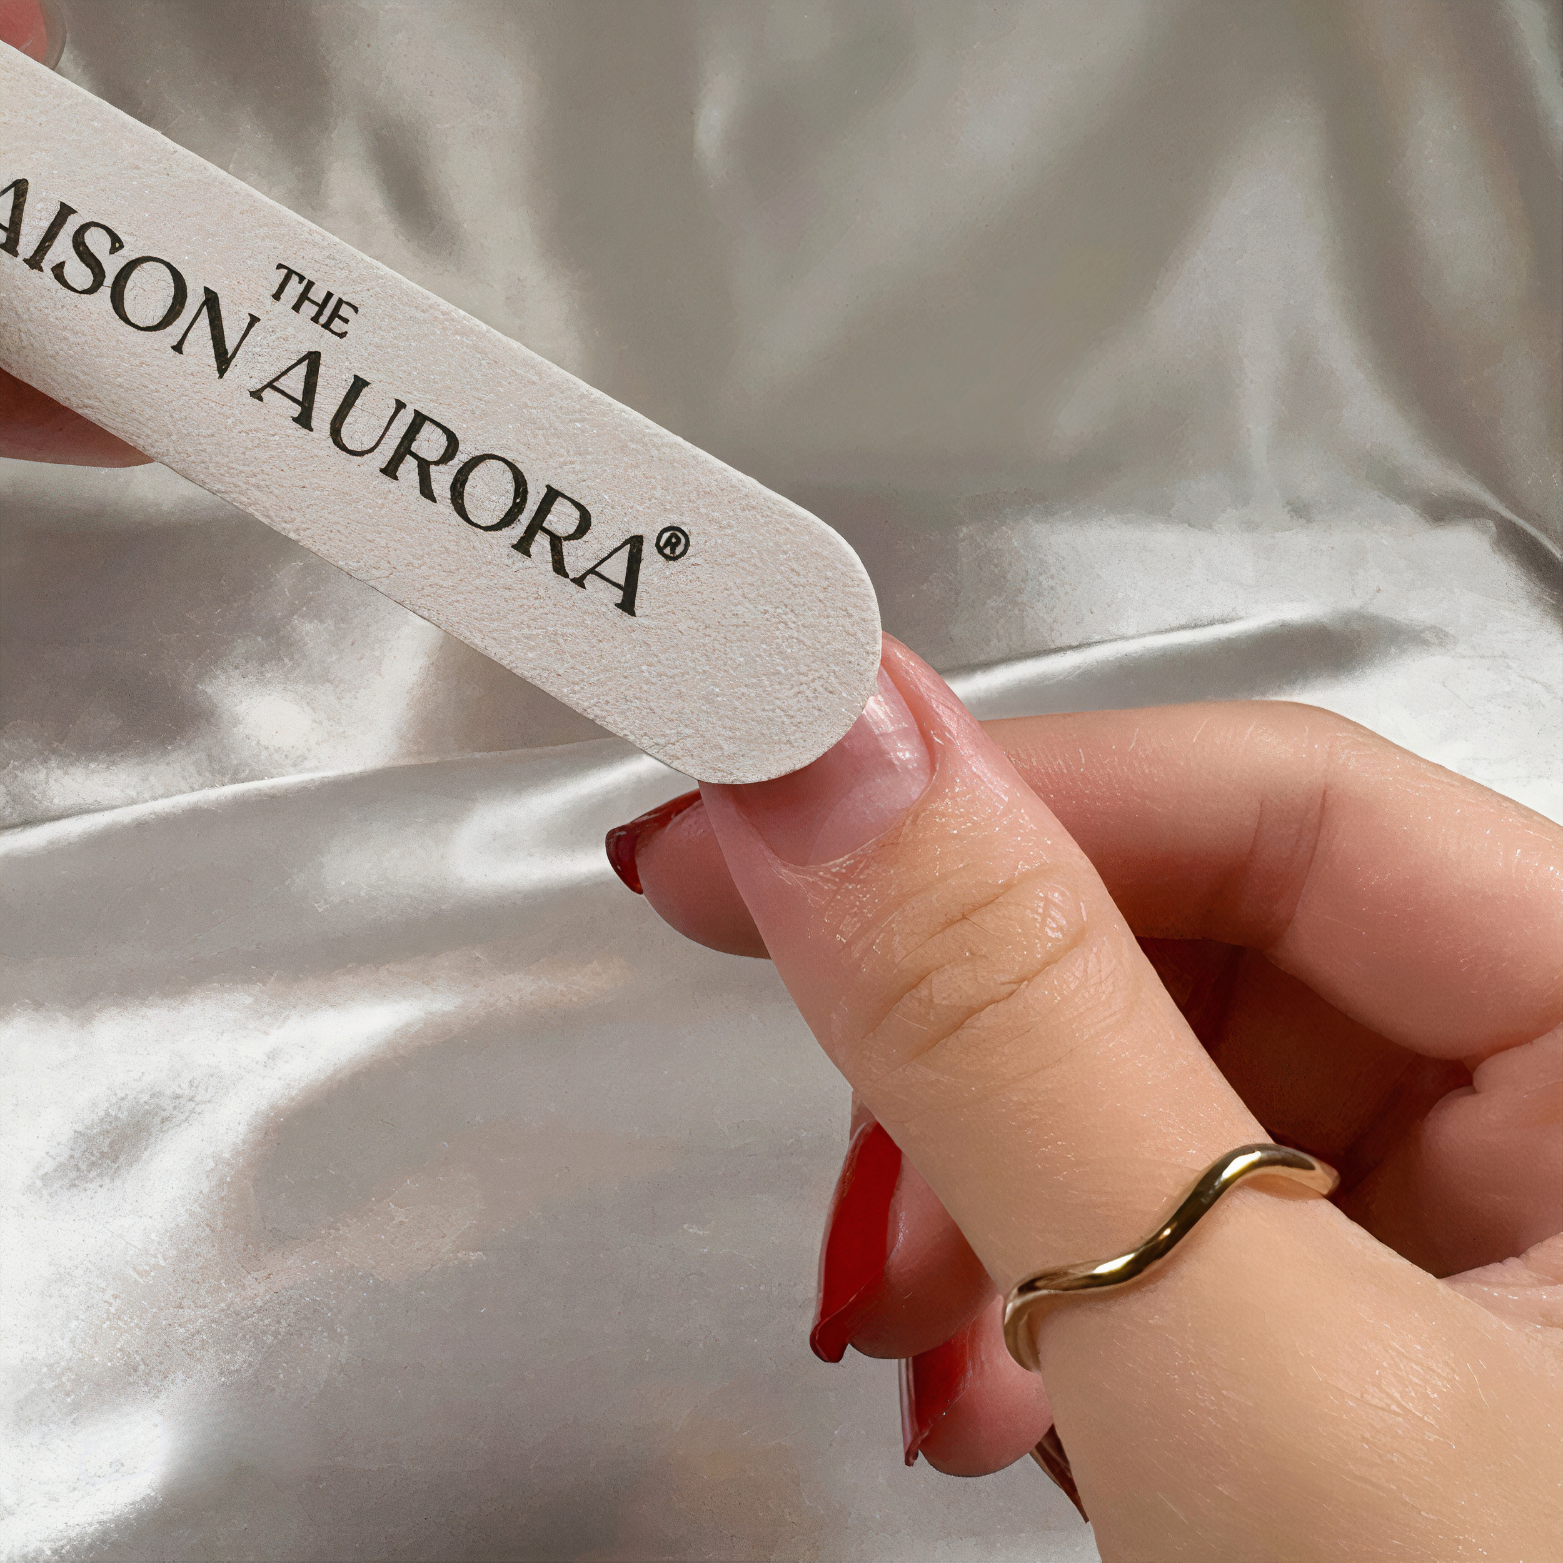
Nail Filing
Using a nail file, gently brush the surface of your nails to smooth out any unevenness. This step prepares your nails for the best possible adhesion, ensuring a longer-lasting manicure. After filing, clean your nails thoroughly with the enclosed alcohol pad. Proper preparation is key—how well you follow these steps will significantly affect the durability of your manicure.
step 3
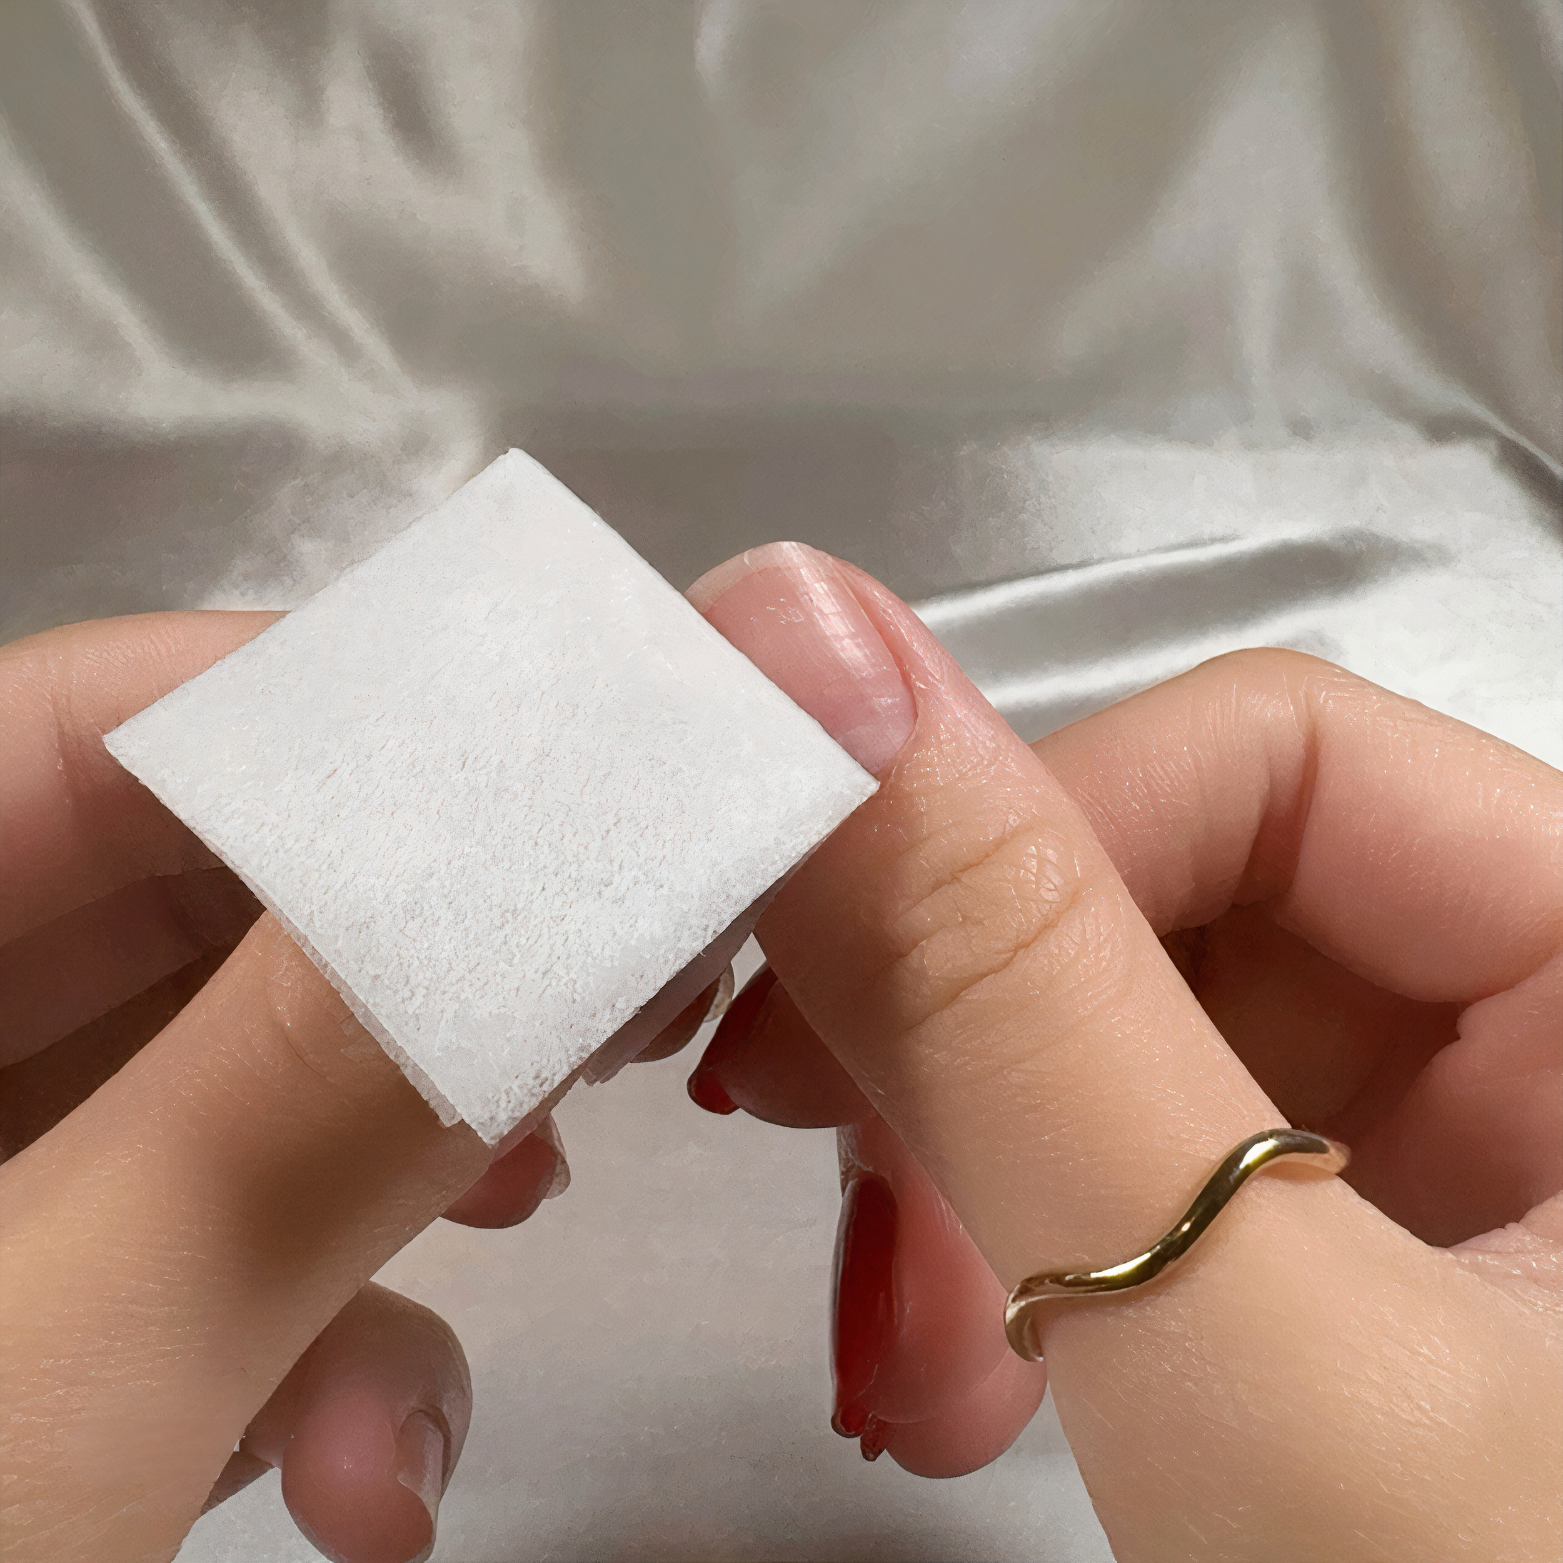
Prepare
Before applying the UV gel strips, thoroughly clean your nails using the provided alcohol pads. This step removes oils, dirt, and any residue that might prevent the strips from adhering properly. Ensure each nail is completely dry after cleaning to achieve the best results.
STEP 4
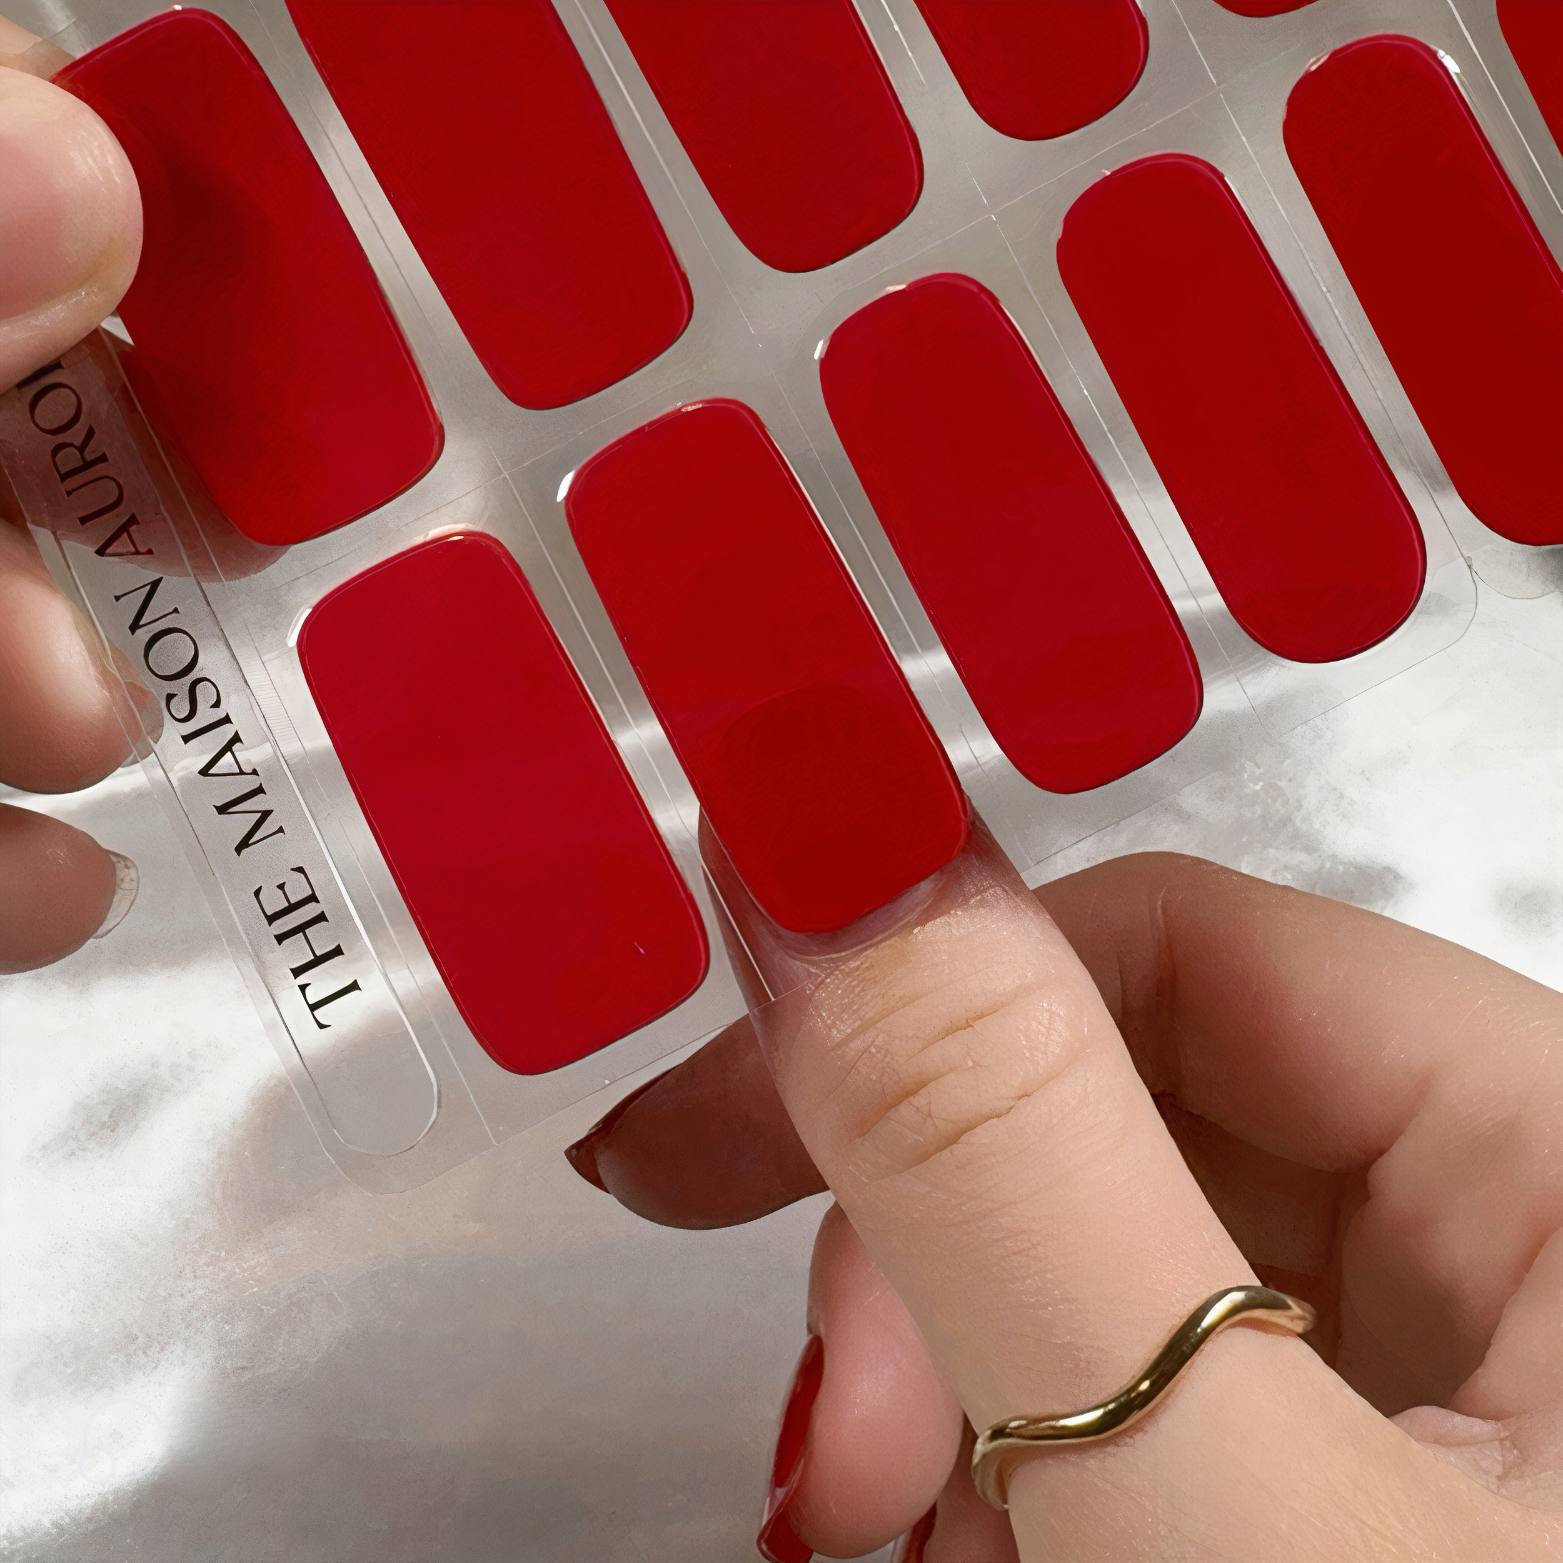
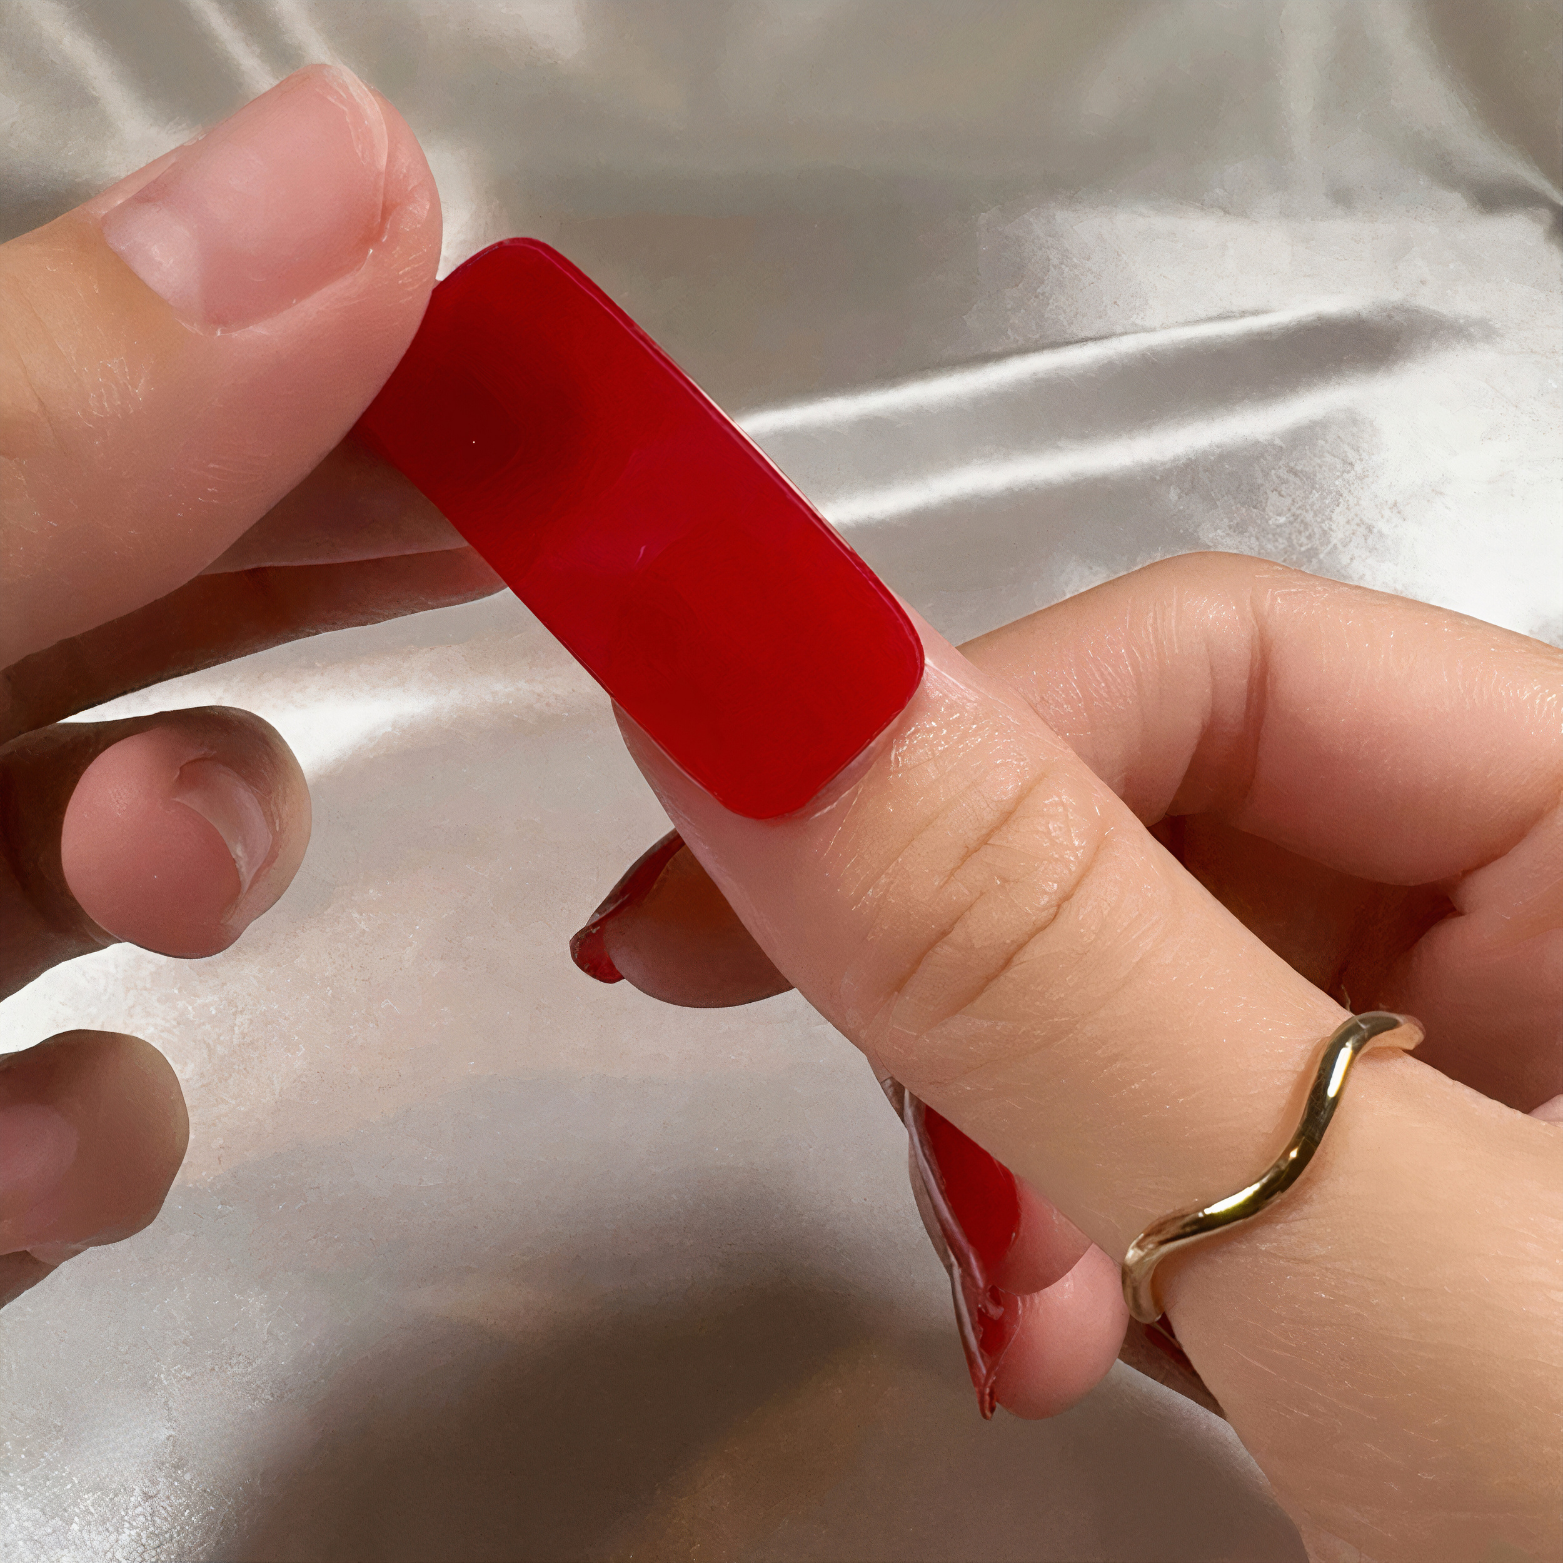
Choose the right size
Hold the UV Gel Strips over your nail and select the correct size from the 8 different widths. If you are unsure, opt for the smaller size. Choosing the correct size is crucial to ensure the strips cover your natural nail well. You can carefully stretch the strips to fit your nail shape perfectly.
STEP 5
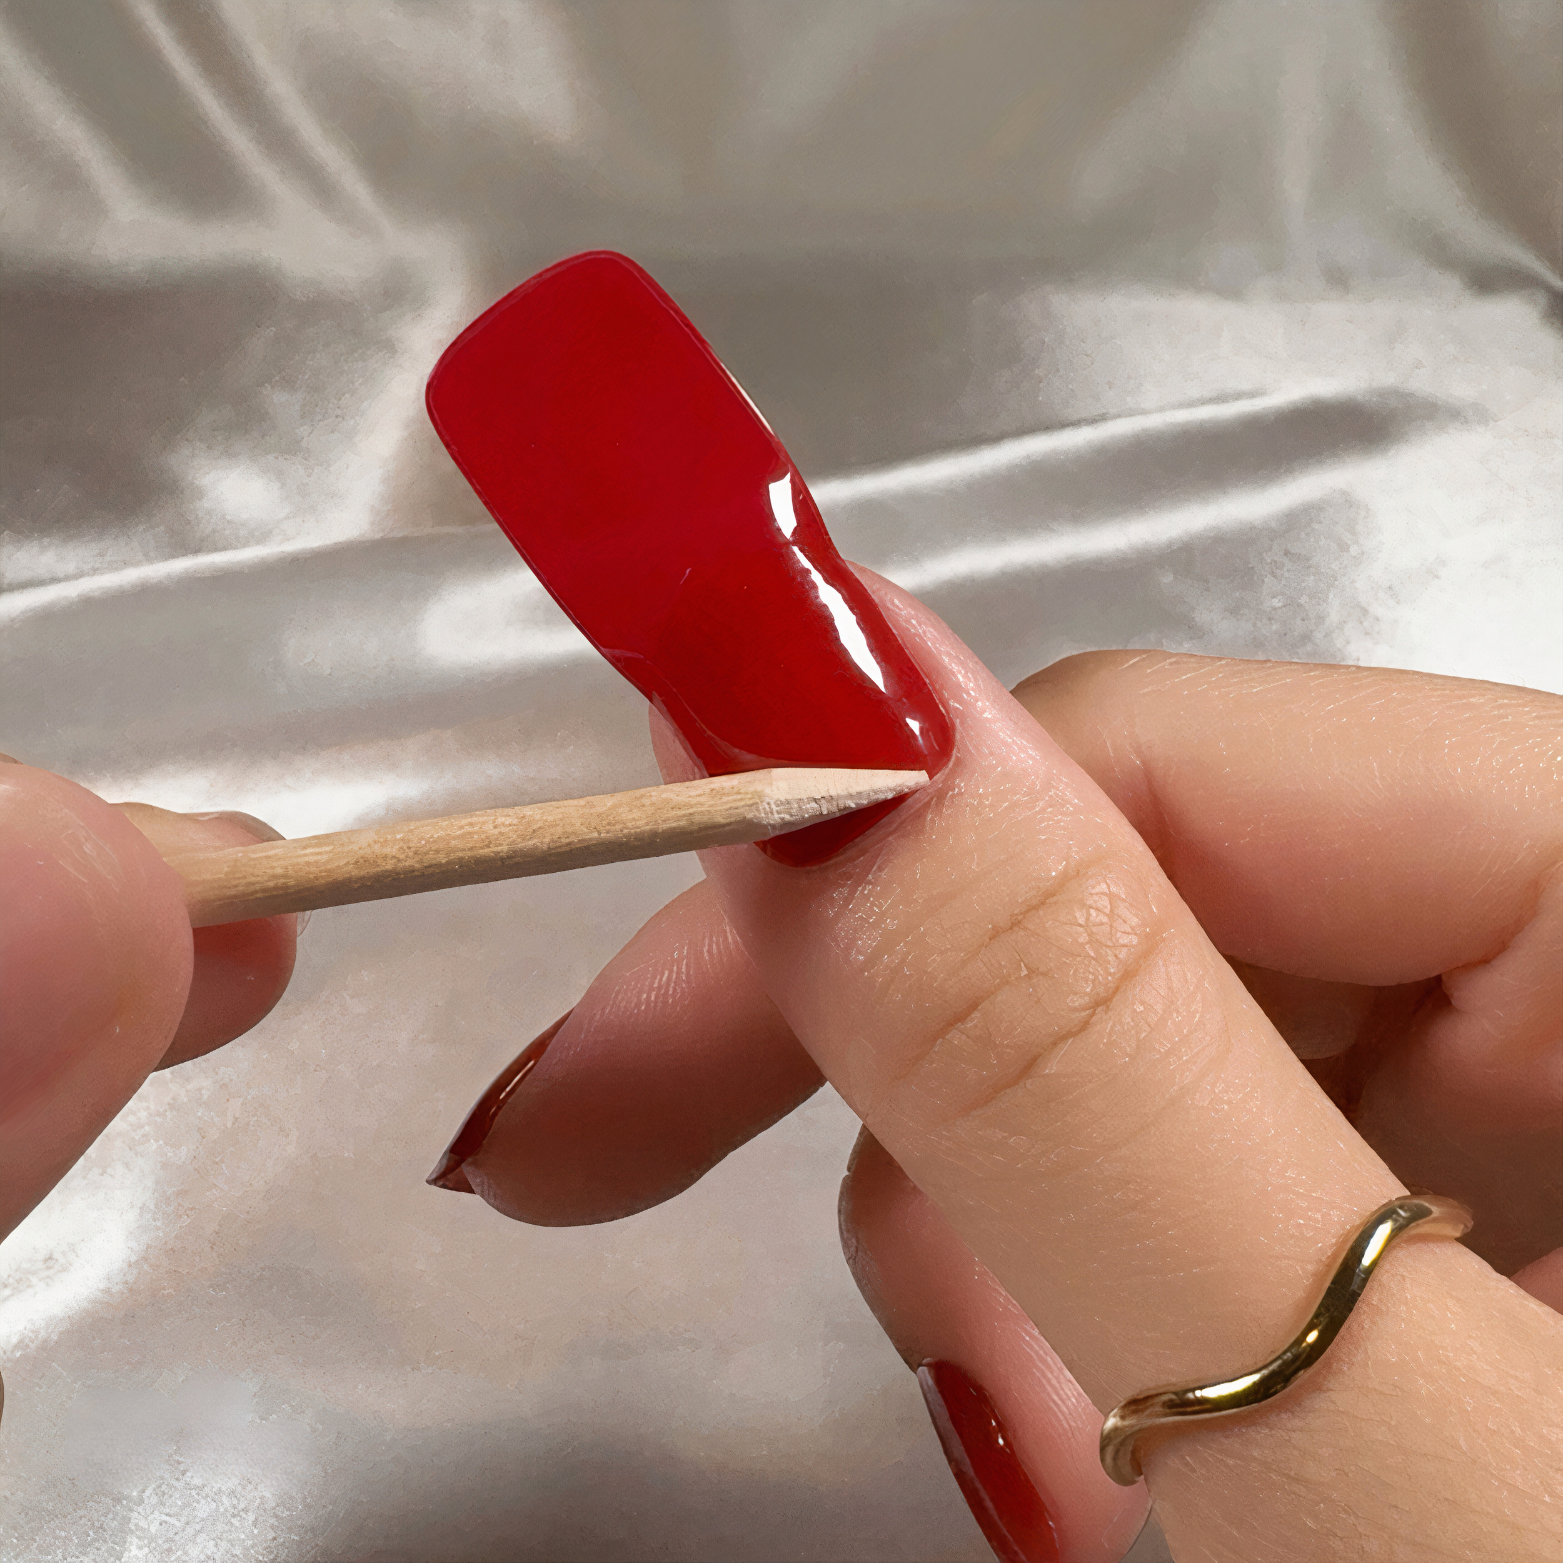
Stick on UV Gel Strip
Apply the UV Gel Strip to your nail, starting from the center and smoothing it outward. Ensure you avoid placing the strip on your cuticles to ensure it holds well.
STEP 5
Stick on UV Gel Strip
Apply the UV Gel Strip to your nail, starting from the center and smoothing it outward. Ensure you avoid placing the strip on your cuticles to ensure it holds well.
STEP 7
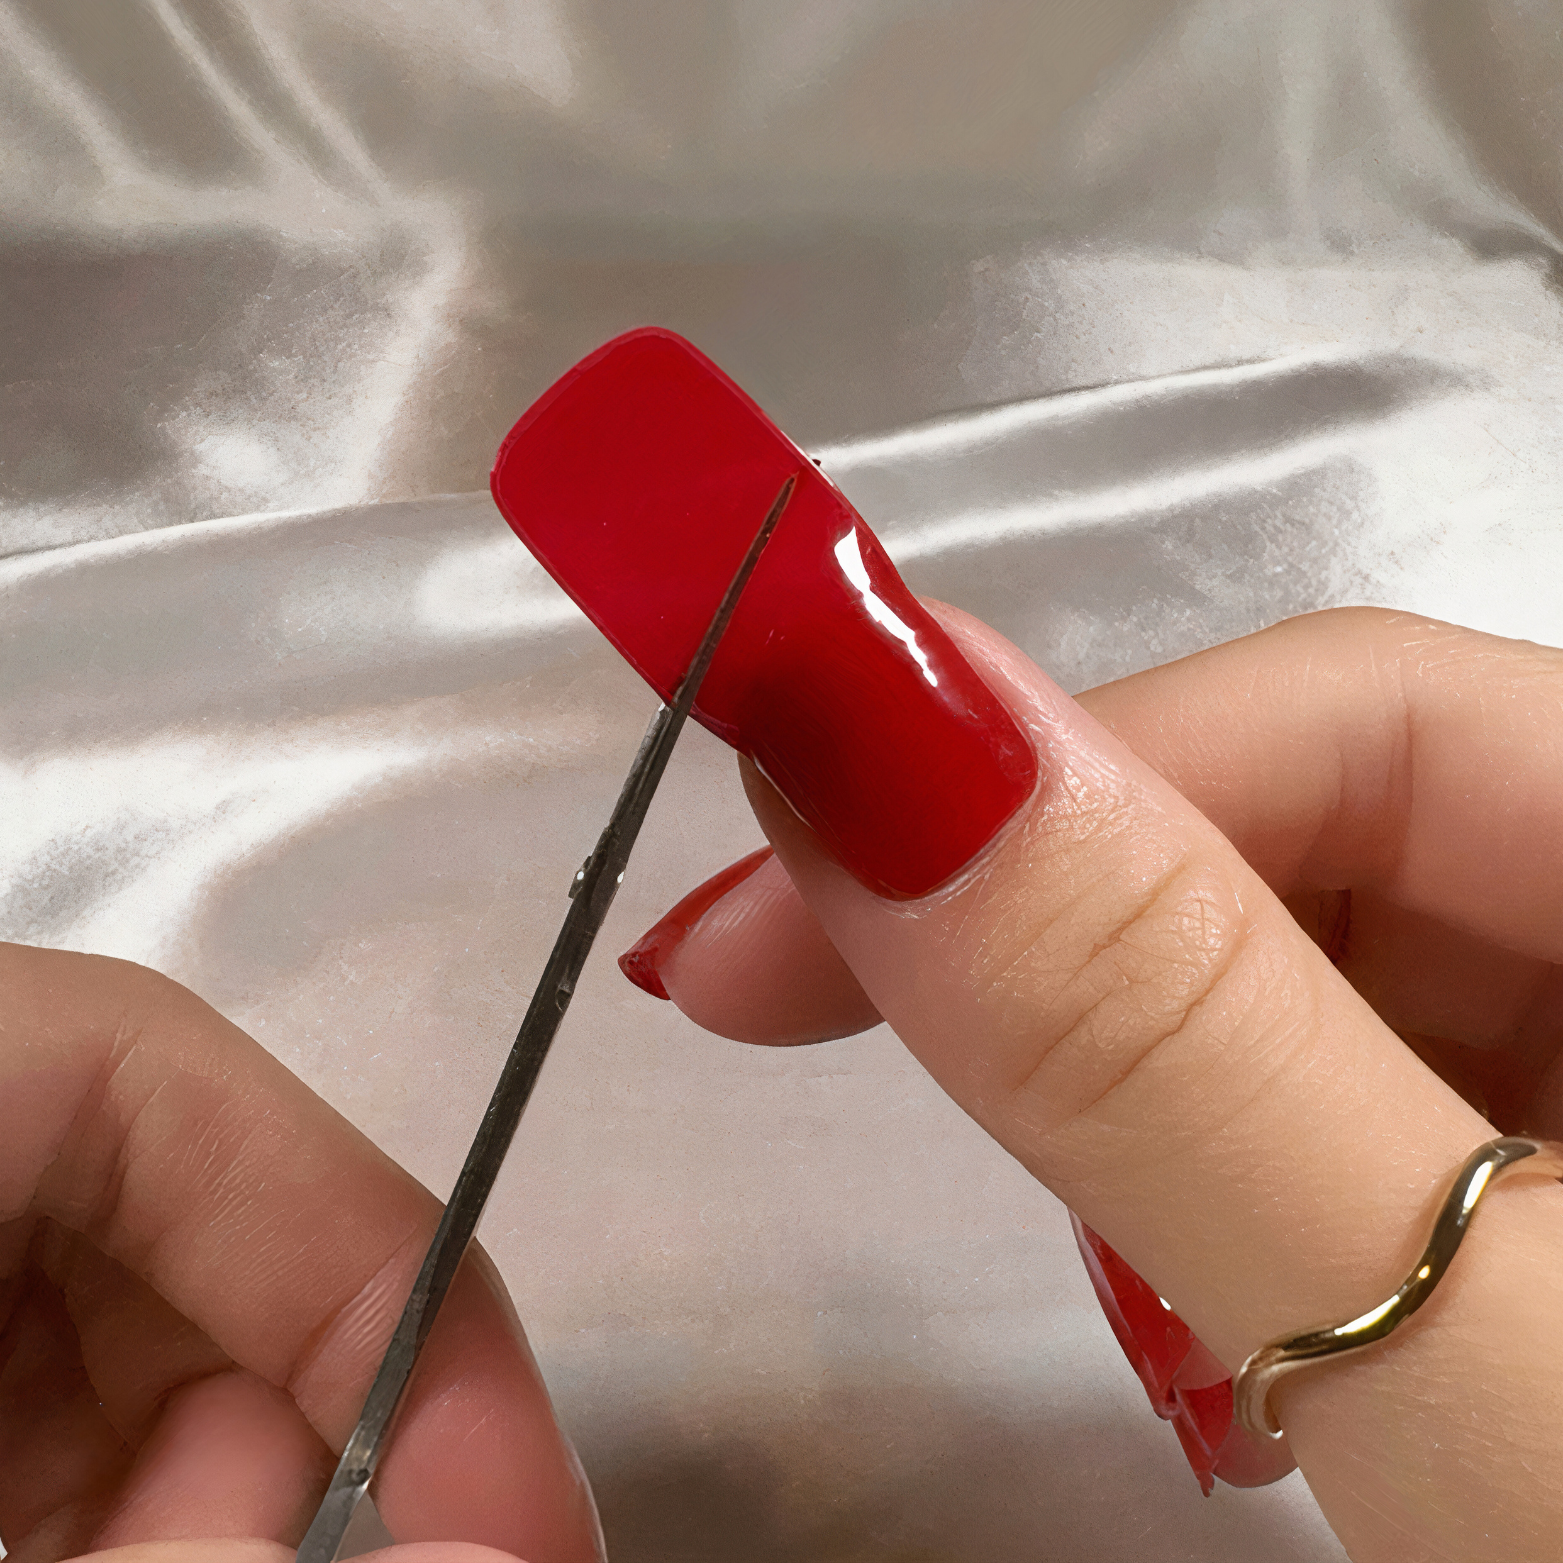
Cutting and folding
Cut off the overhanging half. It is important not to cut too close to the edge of the nail so that you can still fold the end over. Fold the protruding end under the tip of your nail so that the entire nail edge is covered.
STEP 8
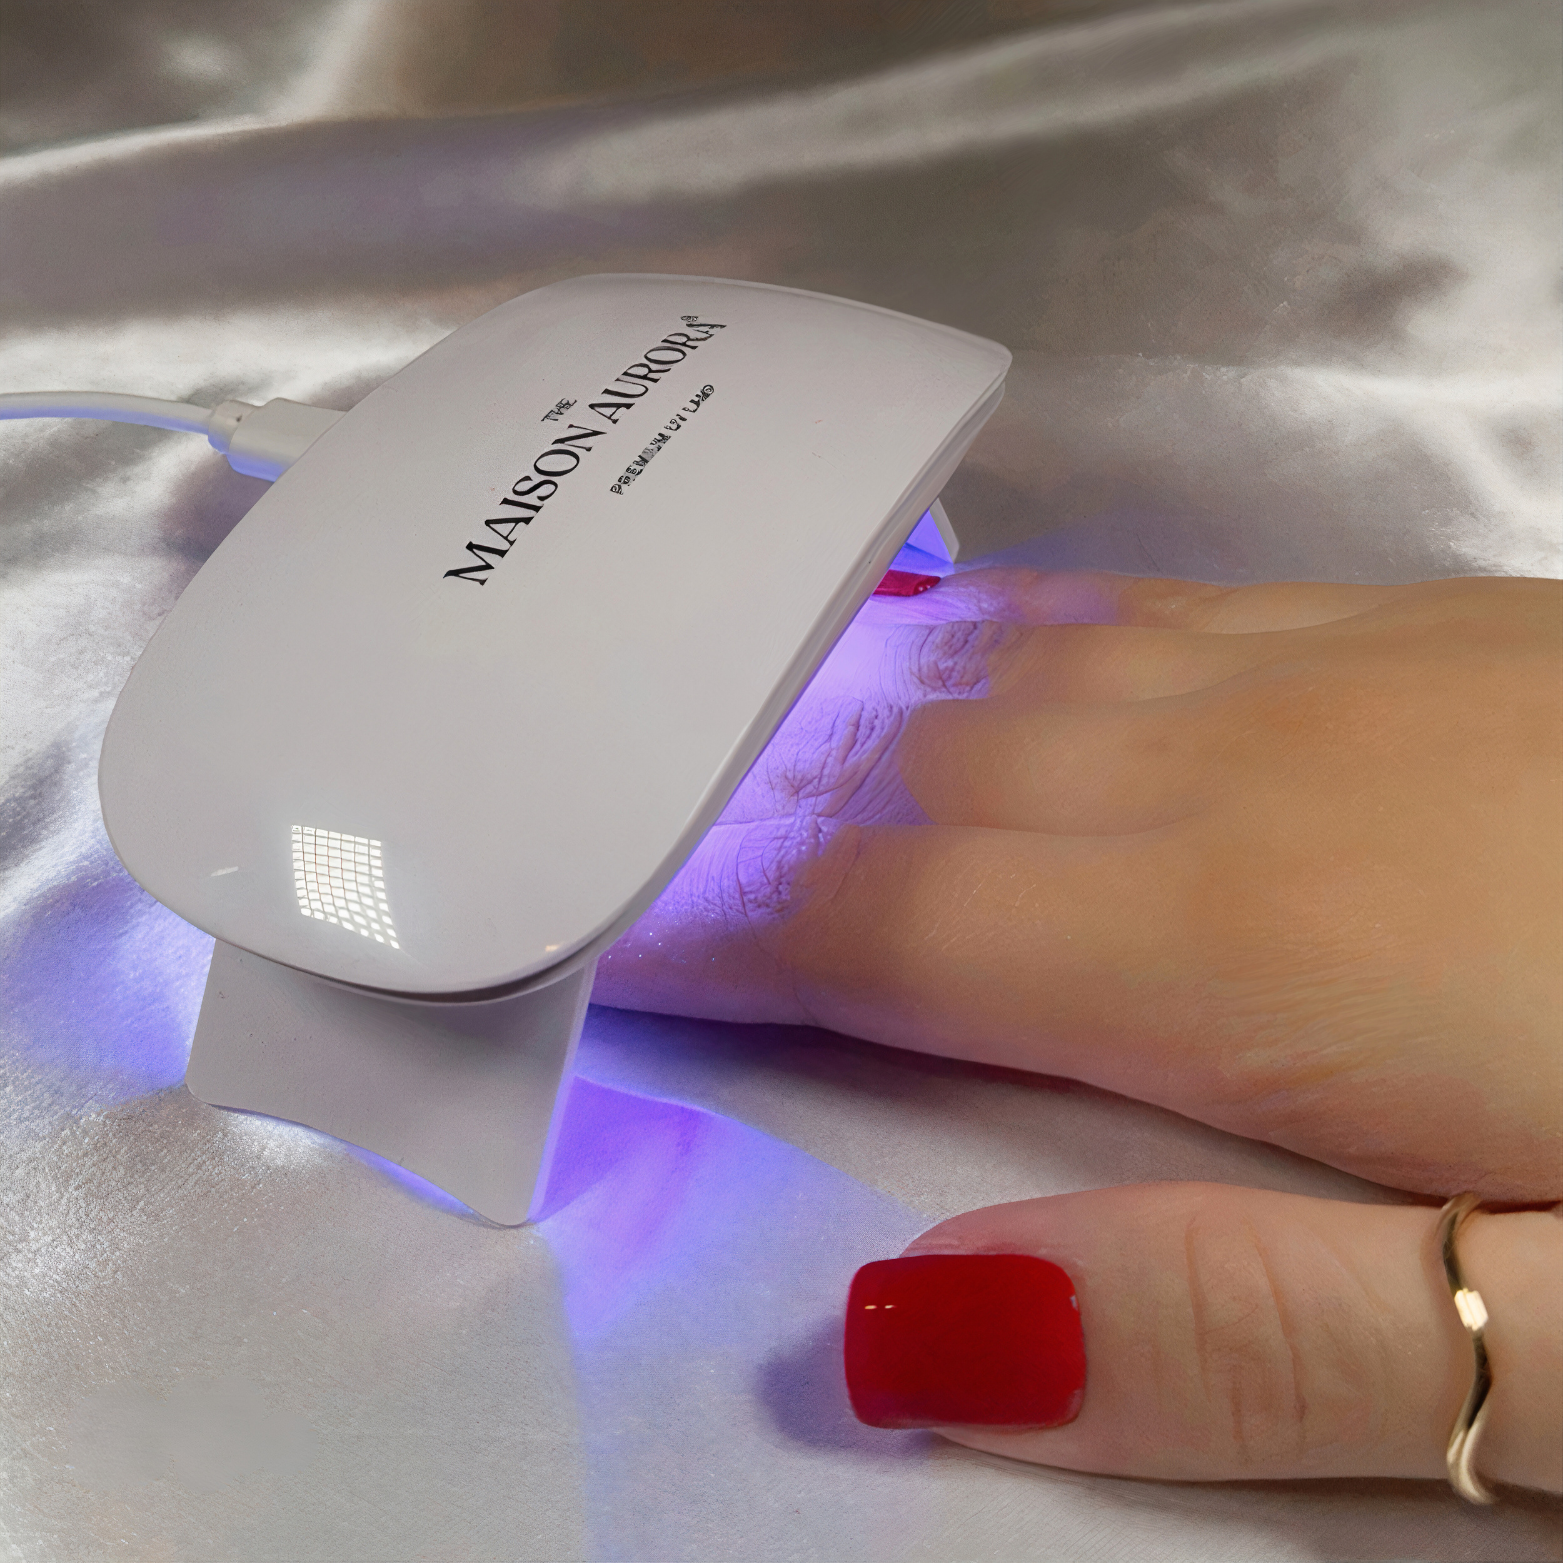
Cure under UV LED lamp
Connect the UV LED lamp to a power source. Place your index, middle, ring and little finger in the middle under the UV LED lamp and switch it on. Wait 1 minute. The UV LED lamp switches off automatically. Cure your thumbs separately.For nails to be harder and hold longer we recommend to add 2-3 minutes extra under the UV Lamp.
STEP 9
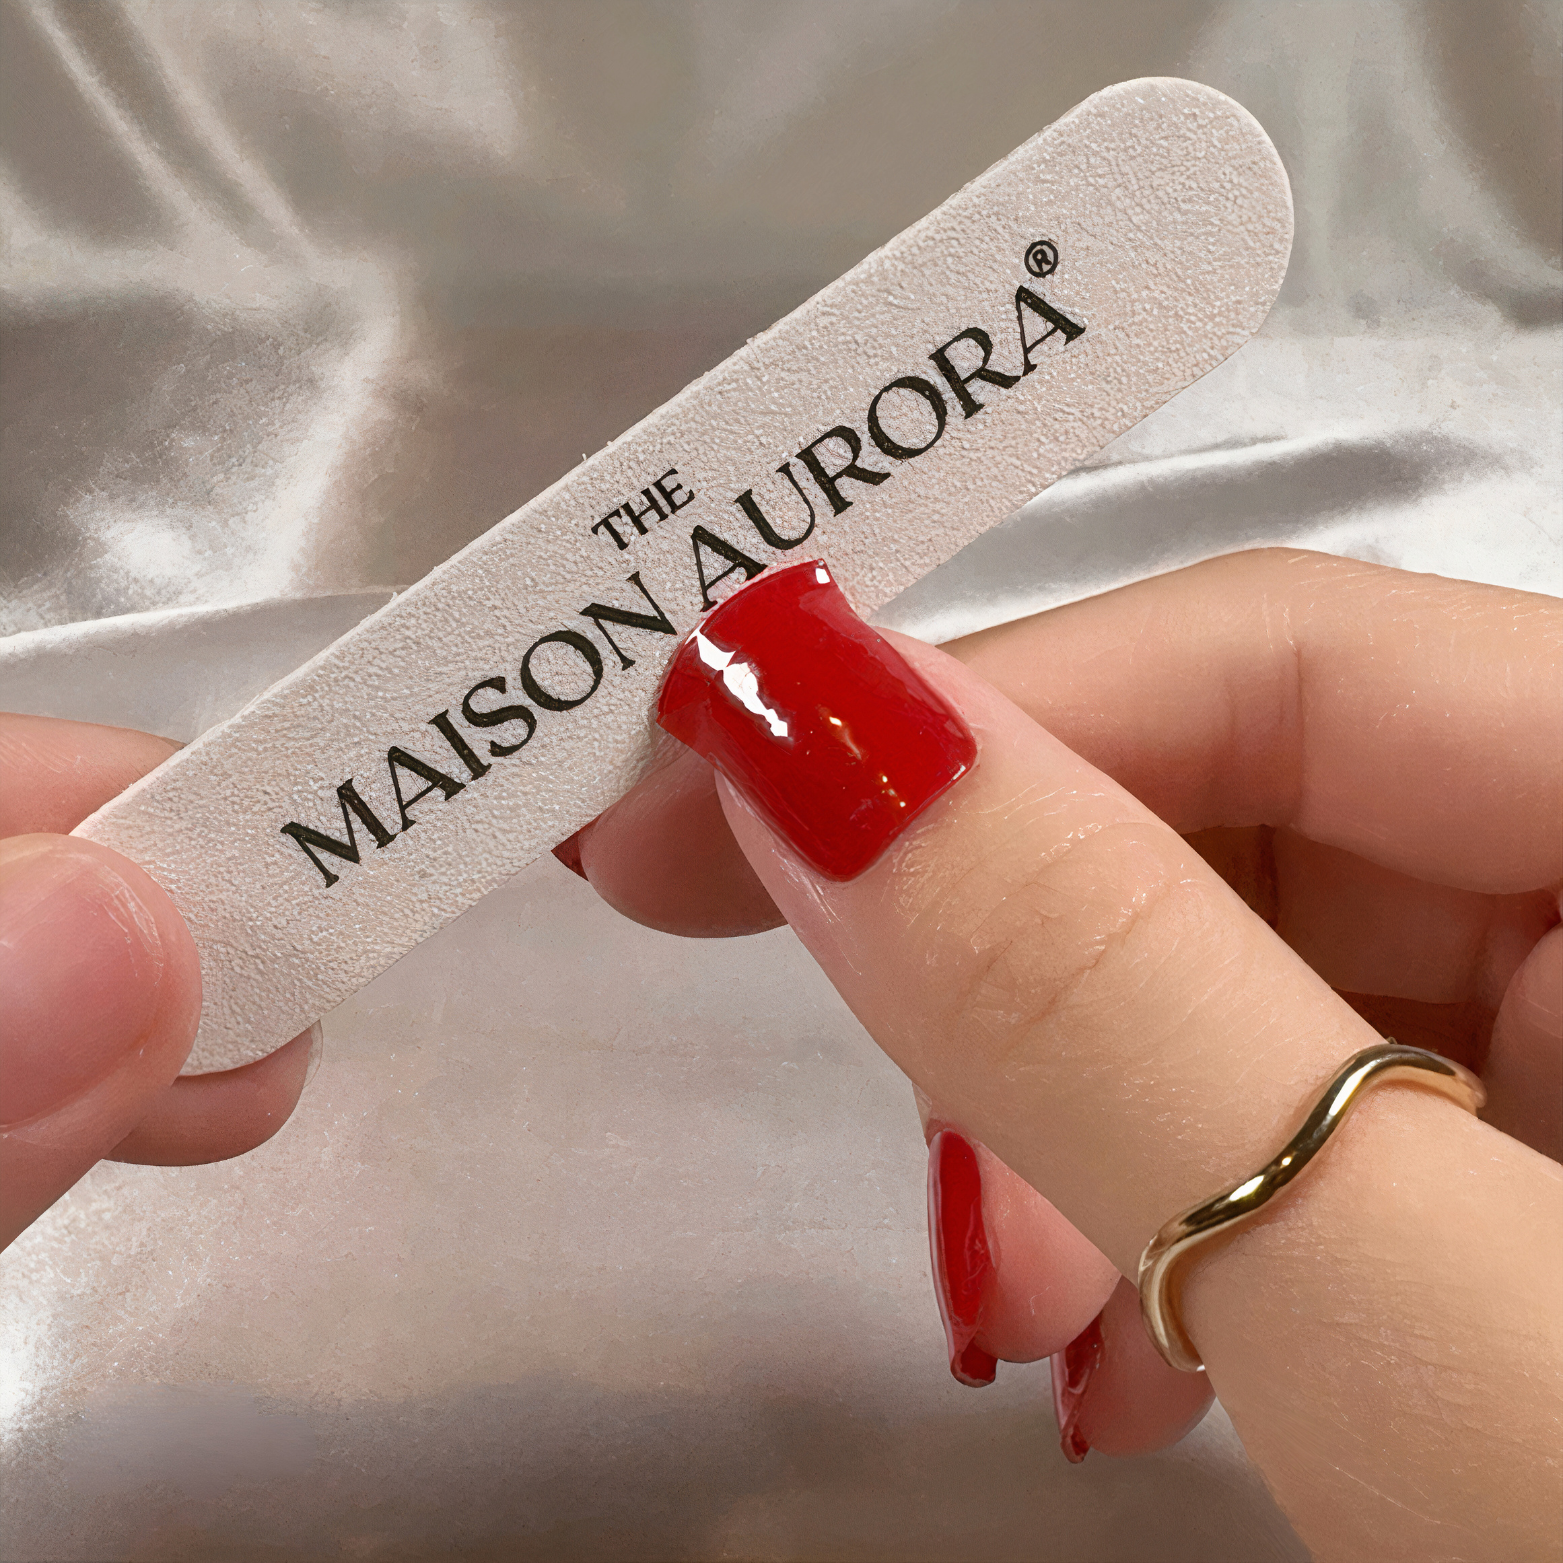
Filing Off and Shaping
After curing the strips under the UV lamp, carefully file off the excess material to shape your nails to your desired look. Use a fine-grit file and work in a gentle, downward motion at the edges of your nails. For a smooth finish, follow the natural curve of your nails or shape them to your preference, such as square, round, or almond. Take your time, as the strips are more rigid after curing, ensuring precision without damaging the cured gel or your nails.
Correct Removal Method
To preserve the health of your nails and achieve optimal results, please carefully follow each step outlined in the video. Proper technique is essential to prevent potential nail damage.
